The Ultimate Guide to Winterizing Your Home
Ready to get started?
Window World offers free in-home consultations! Click below to schedule today!
Get started!
There’s a lot to love about the winter season, like holiday feasts and beautiful, glittering snowflakes drifting down from above. But the same things that make winter magical can also do a number on your home. Ice dams can clog up and weigh down your gutters, and freezing temperatures can make pipes burst or lead to slippery porch steps.
Keeping your family safe and your house comfortable means winterizing your home. If you’re not sure where to start or what’s involved, read on – we’ll explore 13 tips you can use in this home winterization checklist!
Winterizing your home’s interior

Many of the most important home winterization steps focus on prepping the inside of your house. Since you’ll probably spend most of your time indoors this winter, don’t skip any of these!
1. Test the thermostat

Before your thermostat really starts to work hard, put it through its paces by turning it up and down to ensure it’s still working properly. To save on energy bills this winter, set its maximum temperature to 65°. Sooner than you know it, your body will acclimate, and you’ll avoid straining your HVAC system too much in the coldest time of year.
For even more convenience, consider investing in a smart thermostat! That way, you can program your thermostat to turn down while you’re away on vacation and turn up before you return; no one likes coming home to a cold house, after all.
2. Check your carbon monoxide detectors
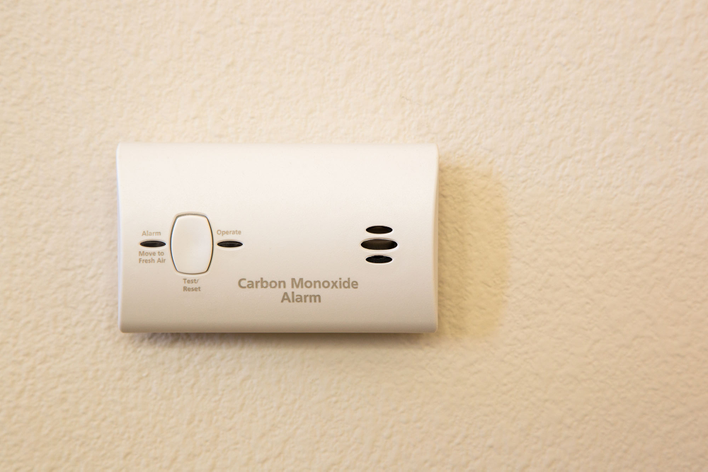
It’s just as important to check your home’s carbon monoxide detectors as you run through your home winterization checklist. Odds are you’ll want to regularly light fires and use your heating system, but that also introduces the risk of carbon monoxide poisoning. With carbon monoxide detectors ready to go, you’ll always be alerted if there’s a danger (which is doubly important since you won’t want to open the windows for fresh air until spring!).
3. Seal or replace doors and windows
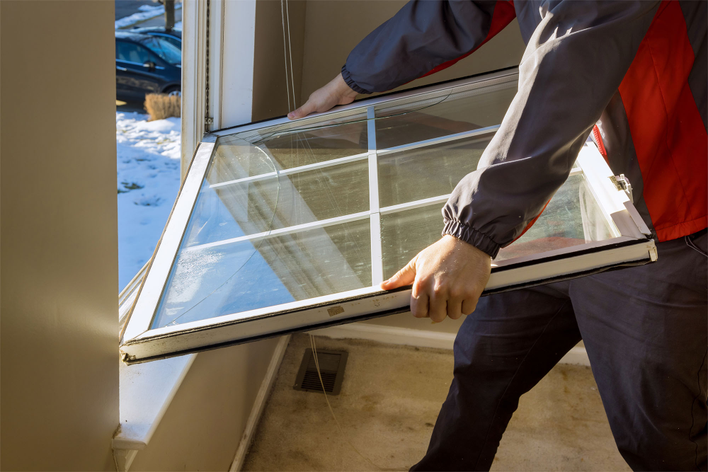
All possible drafty spaces should also be inspected. Specifically, check the doors and windows throughout your home and see if they feel cooler than anywhere else. If you feel temperature drops near a window or the front door, for example, use a caulking gun to seal up those leaks.
Alternatively, you can apply plastic film to your windows, which can reduce heat loss by acting as an extra barrier between your home and the outdoors. Wrapping your windows in plastic takes just a few minutes with some common tools, and it is a cost-effective way to save cash and improve the efficiency of your current windows!
But some windows, unfortunately, just can’t be repaired with a quick fix! If a specific window is too drafty or old to keep your home comfortable in the winter, you can replace it with an energy-efficient new window.
A great new window adds curb appeal and reduces your energy bill at the same time, so it’s a stellar investment for most homeowners. Take Window World’s single-hung windows for instance; with gas-filled glass panes and an interlocking sash design, it protects your home from cold air as soon as it’s installed.
4. Insulate your pipes
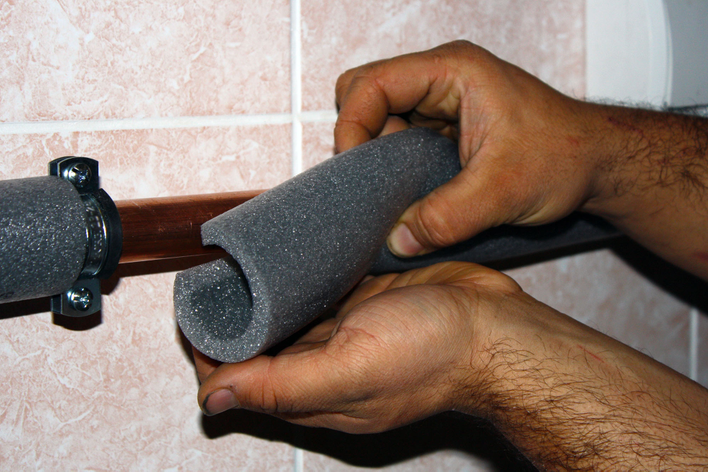
From time to time, the weather forecast might warn about freezing temperatures, depending on where you live. If the ground freezes, your home's pipe systems could be threatened – and if they get cold enough, the water inside them can freeze, expand, and cause your pipes to burst.
It sounds like a surefire headache and blow to your savings account, so avoid both of those things by insulating your plumbing system beforehand. Head to a home improvement store and purchase some pipe sleeves or, if you’re more of a DIY homeowner, tape newspaper around the pipes to keep them a bit warmer than they would be otherwise. It’s a simple solution that can prevent a complicated problem from arising later!
5. Reverse the fans
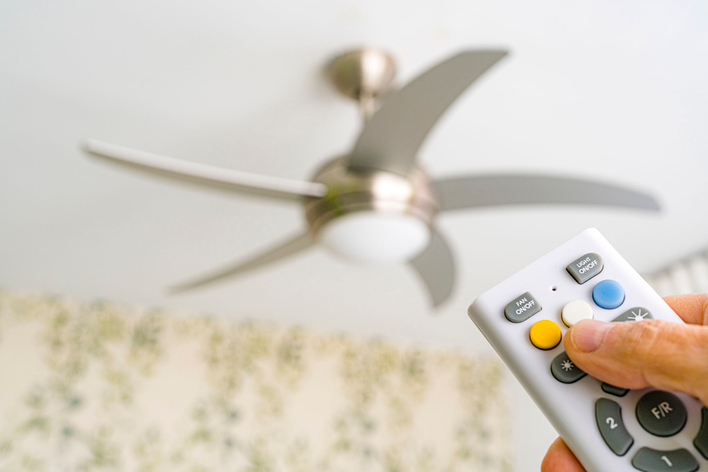
Did you know that if your fans rotate clockwise, they’ll spread warm air closer to the ceiling down into a given room? It’s true! This basic home winterization hack makes the most of your home’s current warm air and is as simple as pushing a few buttons on your ceiling fans (if they have settings for this, of course).
6. Swap to LEDs
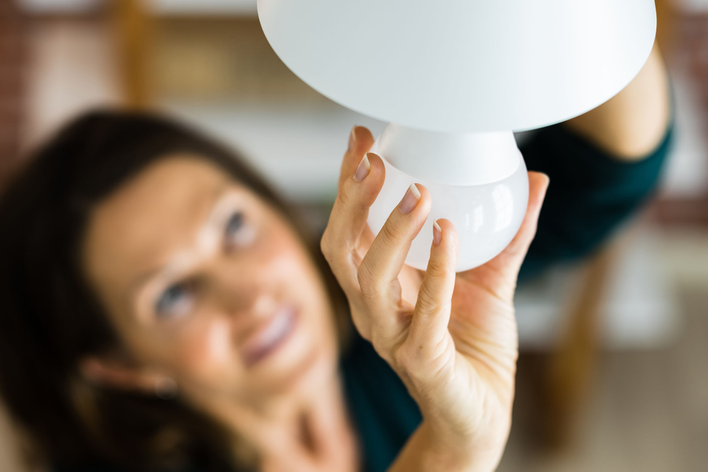
LED lights use energy-efficient light-emitting diodes, so they’re much better for the environment and your wallet compared to standard incandescent bulbs. Plus, LEDs last for much longer compared to other light bulbs. If you want to save a bit of cash in the months when indoor electric lights are likely to burn all day long, LEDs are the way to go.
7. Test the water heater
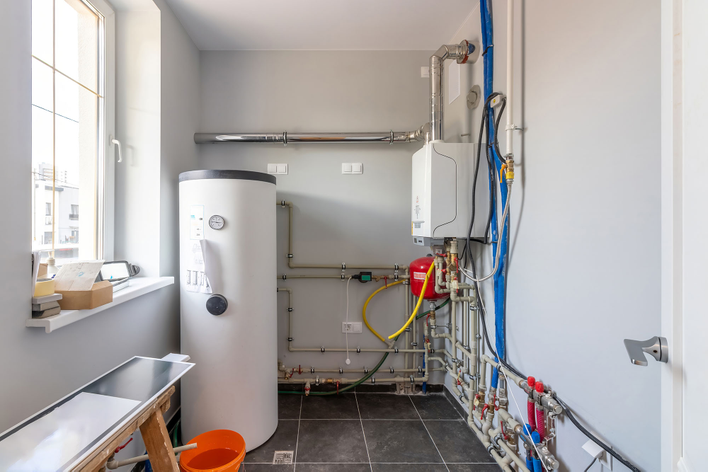
We bet you don’t like cold showers in wintertime – we definitely don’t. So, do your entire household a favor by testing your water heater. If it can’t consistently heat up water for showers or washing dishes, call in a contractor to fix the problem ASAP.
8. Bring plants inside
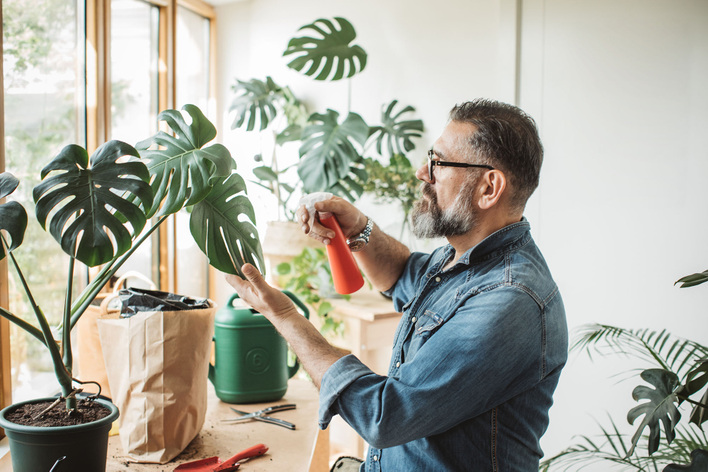
Many of the plants in window boxes or decorating your porch won’t survive future cold snaps. We recommend bringing those plants indoors before the first freeze of the season. Otherwise, you’ll have a heck of a gardening task ahead of you come spring!
9. Clean the air filters and vents
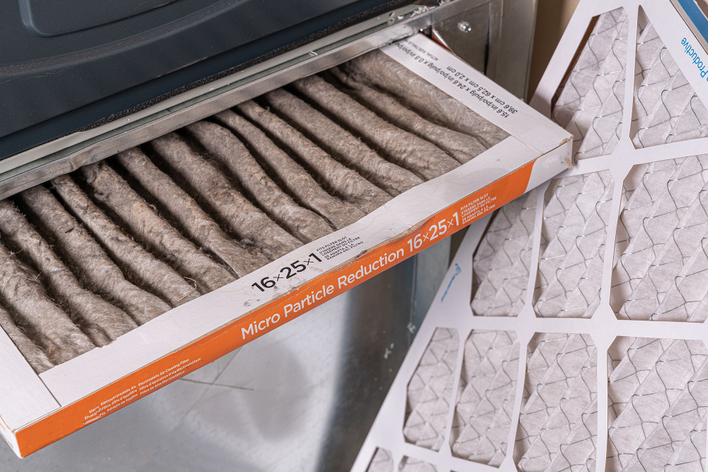
To round out your interior winterization steps, clear out the air filters and fence of your home’s HVAC system (don’t forget to turn off the heater before starting). Not only will this improve the efficiency of your HVAC system, but it’ll also improve air quality in the season when you’re least likely to open your home up for some fresh air.
If you’re in a new home, there are even more home winterization and general care items to consider, like checking your furnace filters and having any wood-burning fireplaces inspected and cleaned.
Outdoor home winterization tips
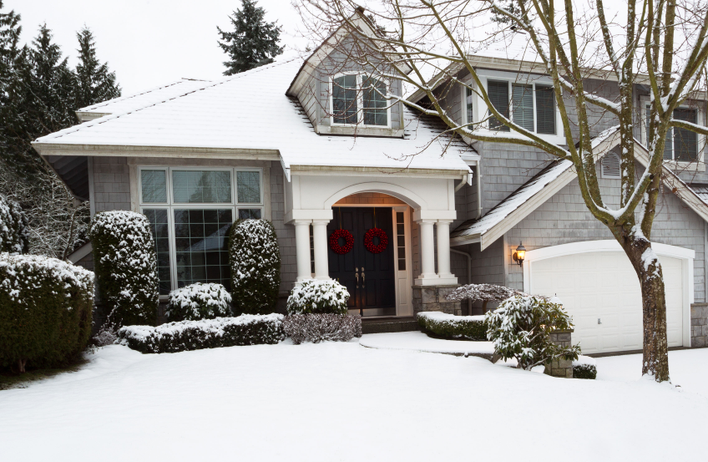
Of course, you can’t forget the outside of your home! To winterize your house’s exterior, follow these key tips.
10. Put away or cover outdoor furniture
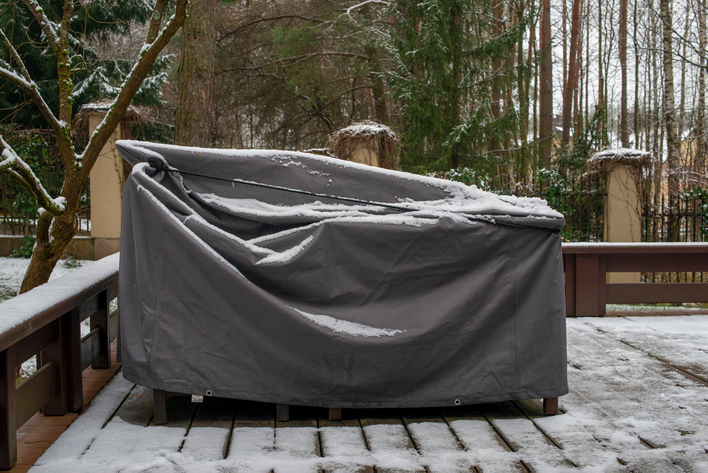
See the beautiful outdoor furniture decorating your front porch or backyard patio? A single snowstorm can damage those chairs and tables irreparably, so bring in or cover any outdoor furniture items that aren't rated for winter weather. Stacking furniture behind the safety of your garage door is a good way to keep it safe without making things crowded in the living room.
11. Disconnect the garden hoses
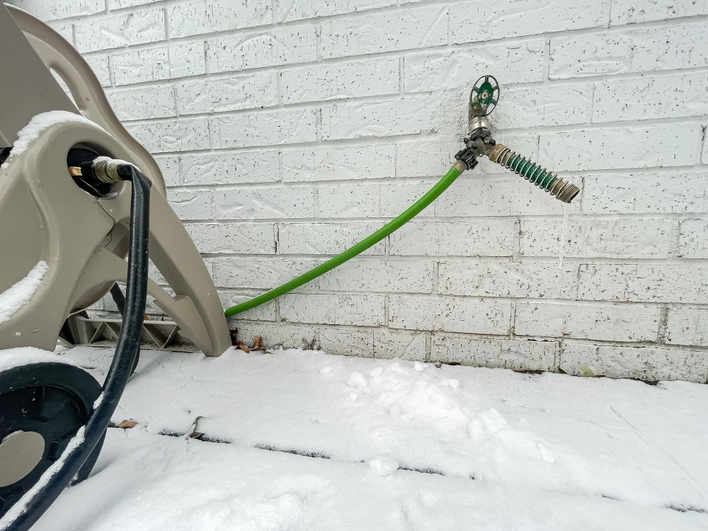
Don’t forget to detach any garden hoses around your property, then turn the faucets on for a few seconds to drain the pipes. Similar to protecting your home’s internal pipework, this simple step will minimize the likelihood of serious pipe damage outside.
12. Check and clear the gutters
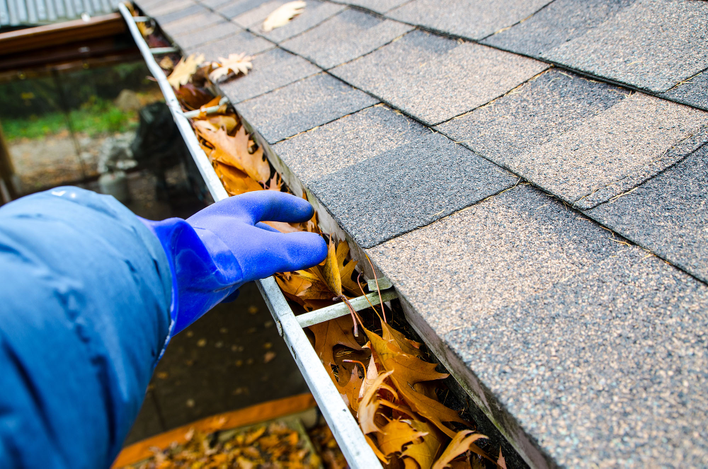
It’s time to head up top with your ladder and a good brush. Before winter begins in earnest, clear out twigs, dirt, and early ice dams from your gutters. They need to be clear to effectively funnel water through the downspouts and away from your home.
If you live in an area where you have to clean your gutters frequently, we recommend investing in durable gutter guards like Gutter Clean – they’ll cover your gutters with resilient shields and reduce how often you have to clear out debris by a pretty significant order of magnitude!
13. Prepare your winter tools
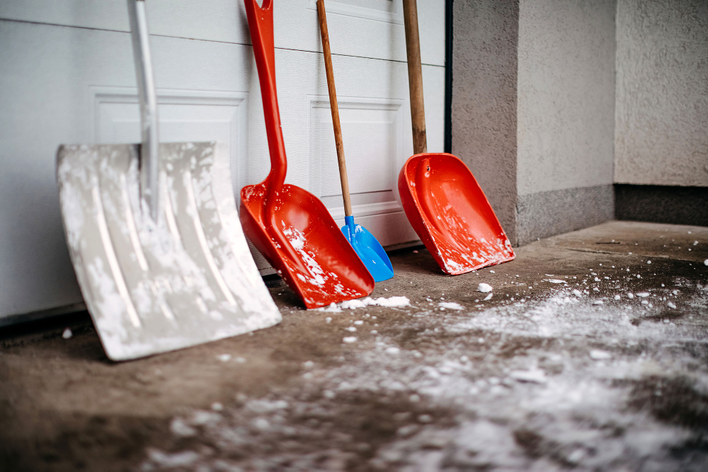
Last but not least, don’t forget to purchase and prepare any winter tools you might use, like shovels, extra batteries, and even some canned food or bottled water for if/when the roads become too hazardous to traverse. If you have a concrete path or walkway leading up to your home, a bag of sand is also good to have; scattering the sand over your path will make it safer to walk, even after a freeze.
When all is said and done, preparing with the items from this home winterization checklist will provide peace of mind and – in many cases! – help you save money in the short and long term. That’s doubly true when you partner with knowledgeable experts.
For instance, if you’ve decided it’s a good time to replace old, drafty windows with new ones before the worst winter storms, you should get in touch with your local Window World franchise. With our help, you’ll find the perfect windows for your home and get the installation assistance you need to ensure the swap goes smoothly. Contact us today!

