Guide to Replacing Siding on a House: Vinyl Siding Edition
Ready to get started?
Window World offers free in-home consultations! Click below to schedule today!
Get started!
Everything You Need to Know About Replacing Siding on a House
Vinyl siding is pretty tough, but nothing lasts forever! Sooner or later, the vinyl siding of your property will need to be replaced. Whether you need to replace all the vinyl siding across your home or just a few panels that look worse for wear, good news: replacing vinyl siding isn’t terribly complicated.
In fact, you can replace siding on your house with some preparation, the right tools, and a bit of elbow grease. If you don’t know where to start, read on!
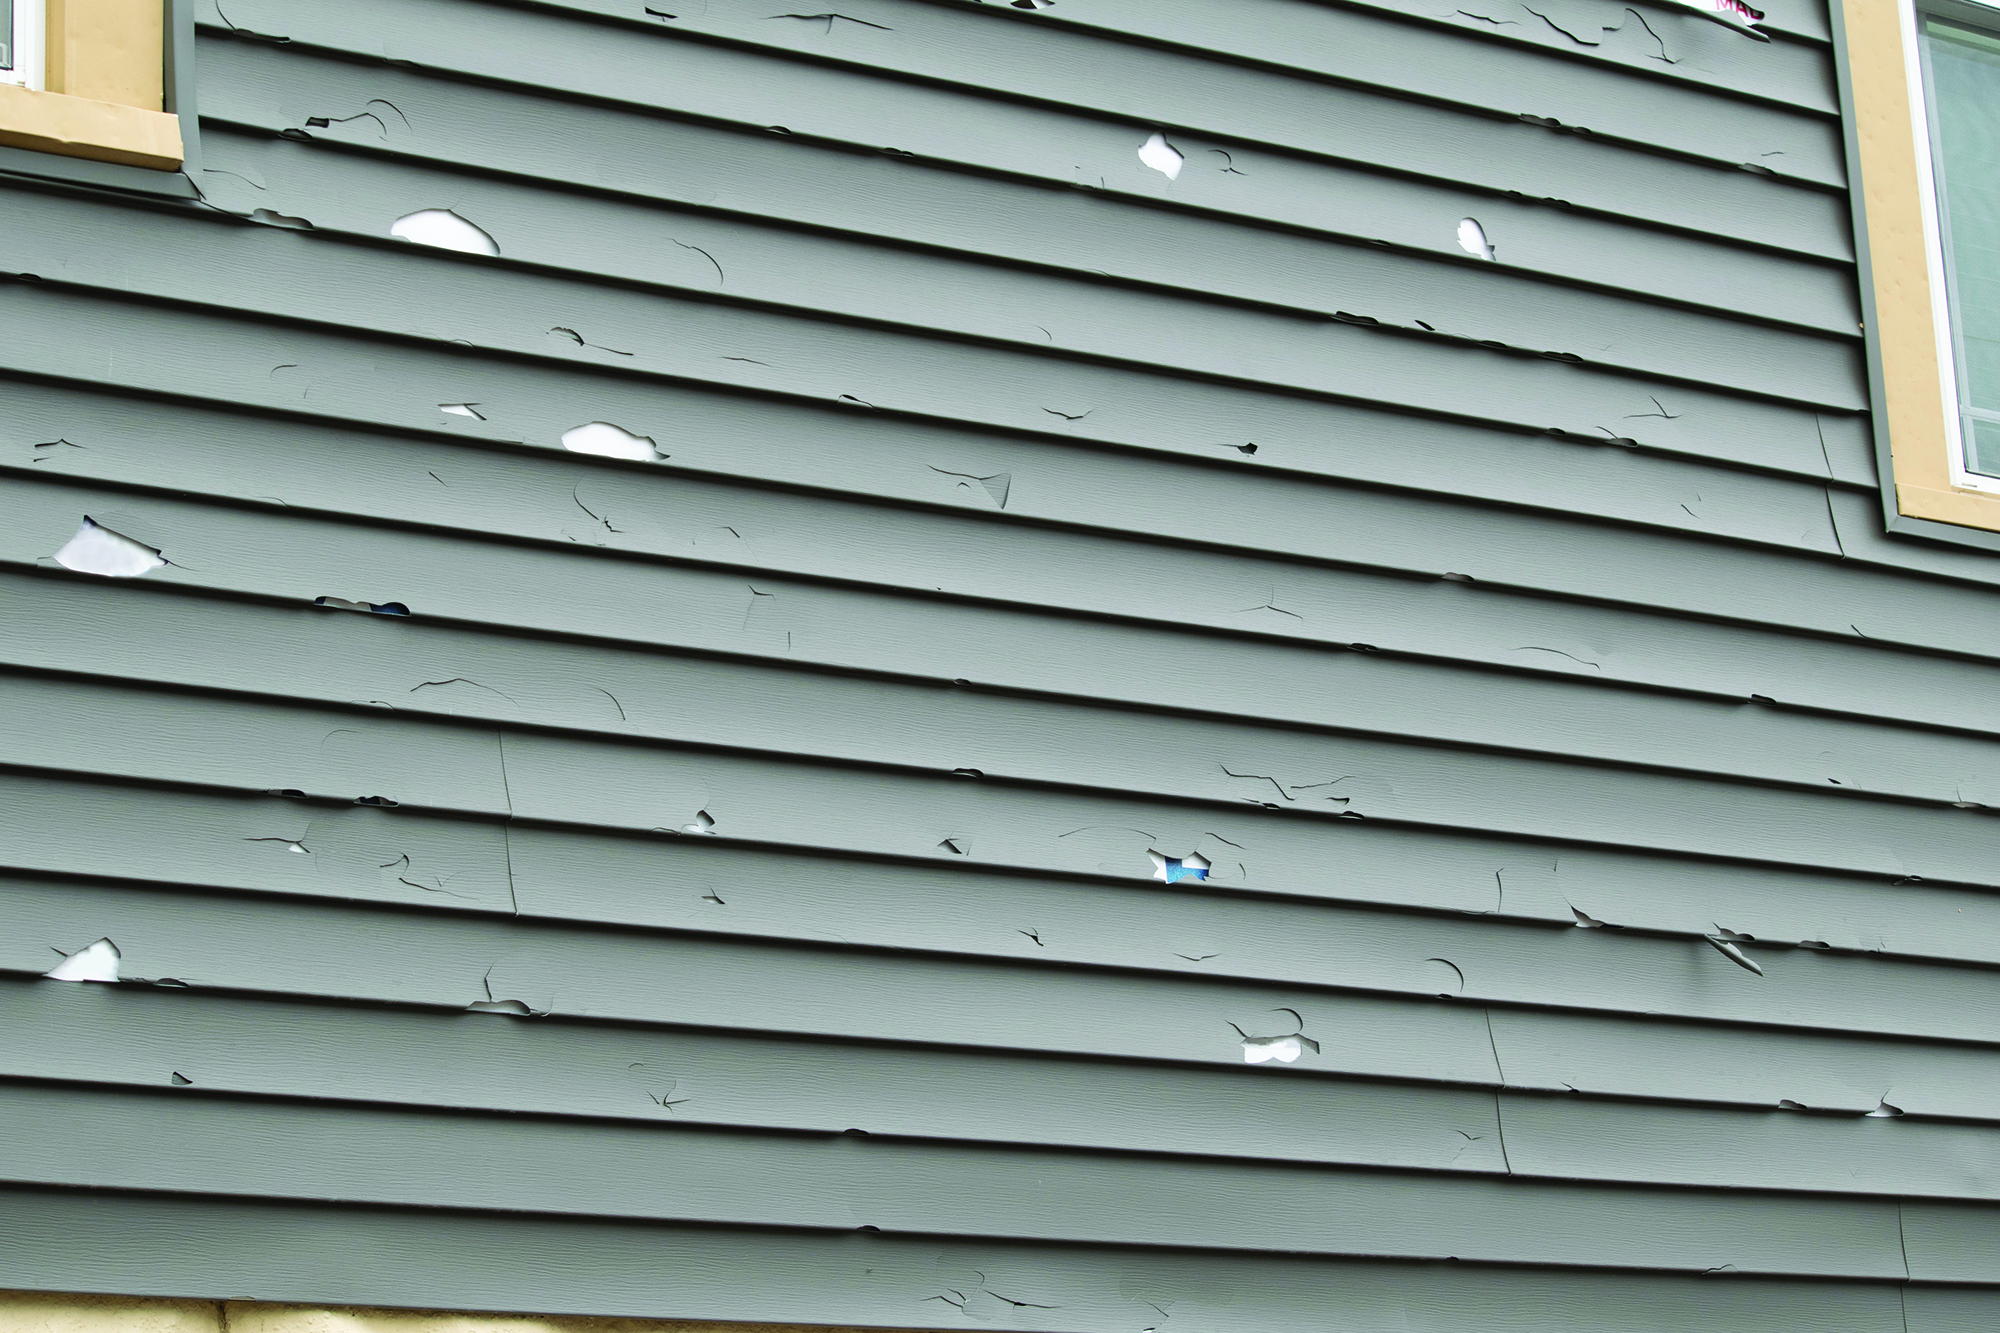
Key signs it’s time for a siding replacement
When it’s properly cared for, vinyl siding should last for anywhere between 30 and 40 years. But that’s only an estimate; major hailstorms, heavy rain, and even bright sunshine can all combine to do a number on your home’s siding panels, potentially causing them to degrade faster than you expect.
You’ll always know it’s time to think about replacing siding on your house when you notice signs like:
- Cracked or warped panels
- Holes appearing in siding panels
- Soft or rotten pieces (though this is more common with wood siding)
- Siding pieces falling off your home
- Misaligned vinyl siding pieces, which could indicate that a panel has become loose or lost a nail
In any case, you should try to replace damaged, destroyed, or missing siding panels ASAP. Your home’s siding protects its interior insulation and framework from being ruined by exposure or inclement weather. The sooner you get new quality siding panels installed – like Alside’s Insulated Vinyl Siding – the better.
How to replace siding on a house
Replacing the vinyl siding panels of your house isn’t as complex as you might think. But to do the job right, you’ll need a few tools and materials to get started, including:
- A prybar, which you can find at home improvement stores like Lowes and Home Depot.
- A zip tool, which you can also find at a home improvement store. It might also be called a vinyl siding removal tool – in either case, it’s a handheld metal instrument with an angled bend and a small hook at the end.
- A hammer, both for pulling out certain nails and for hammering in new nails during siding installation.
- A level (optional), which will let you make sure your new vinyl panels are installed evenly.
- New vinyl paneling, of course. It’s a good idea to get a few more spares than you think you'll need in case one cracks or is broken during installation. Better to be safe than sorry!
One of the best reasons to stick with vinyl over other types of siding is cost-effectiveness. Compared to materials like brick or engineered wood, vinyl siding costs are pretty affordable, ranging anywhere between $3 and $5 per square foot.
When choosing new siding, be sure to purchase panels that are the same size or thickness as your existing ones. Otherwise, it’ll be much harder to cover the blank spots on your home’s walls without leaving gaps. For example, if you have Standard 7” Lap Siding from Everlast, don’t replace an old panel with thinner 4-1/2” Lap Siding instead.
All set? Here's the step-by-step tutorial for replacing siding on a house!
Step 1 – Remove the siding boards
Before you can place a brand-new, high-quality siding board on your home’s wall, you need to get rid of the old panel in its place. That’s where your zip siding tool will come in handy.
- Take the zip siding tool and push the hook end under the siding until you feel it hook onto the panel’s bottom lip.
- Then, move the zip tool to the side along the bottom edge.
- Pull the zip tool down and slightly out (toward your body). This will unhook the panel’s bottom lip. Slide the tool along the edge to continue pulling the siding panel out.
- All that’s left is to “unzip” any pieces above the damaged siding panel piece you want to replace by repeating the above process.
During this step, don’t worry too much about accidentally damaging the loose siding panel you plan to replace. After all, you’re getting rid of it, so use a bit of extra muscle power if needed.
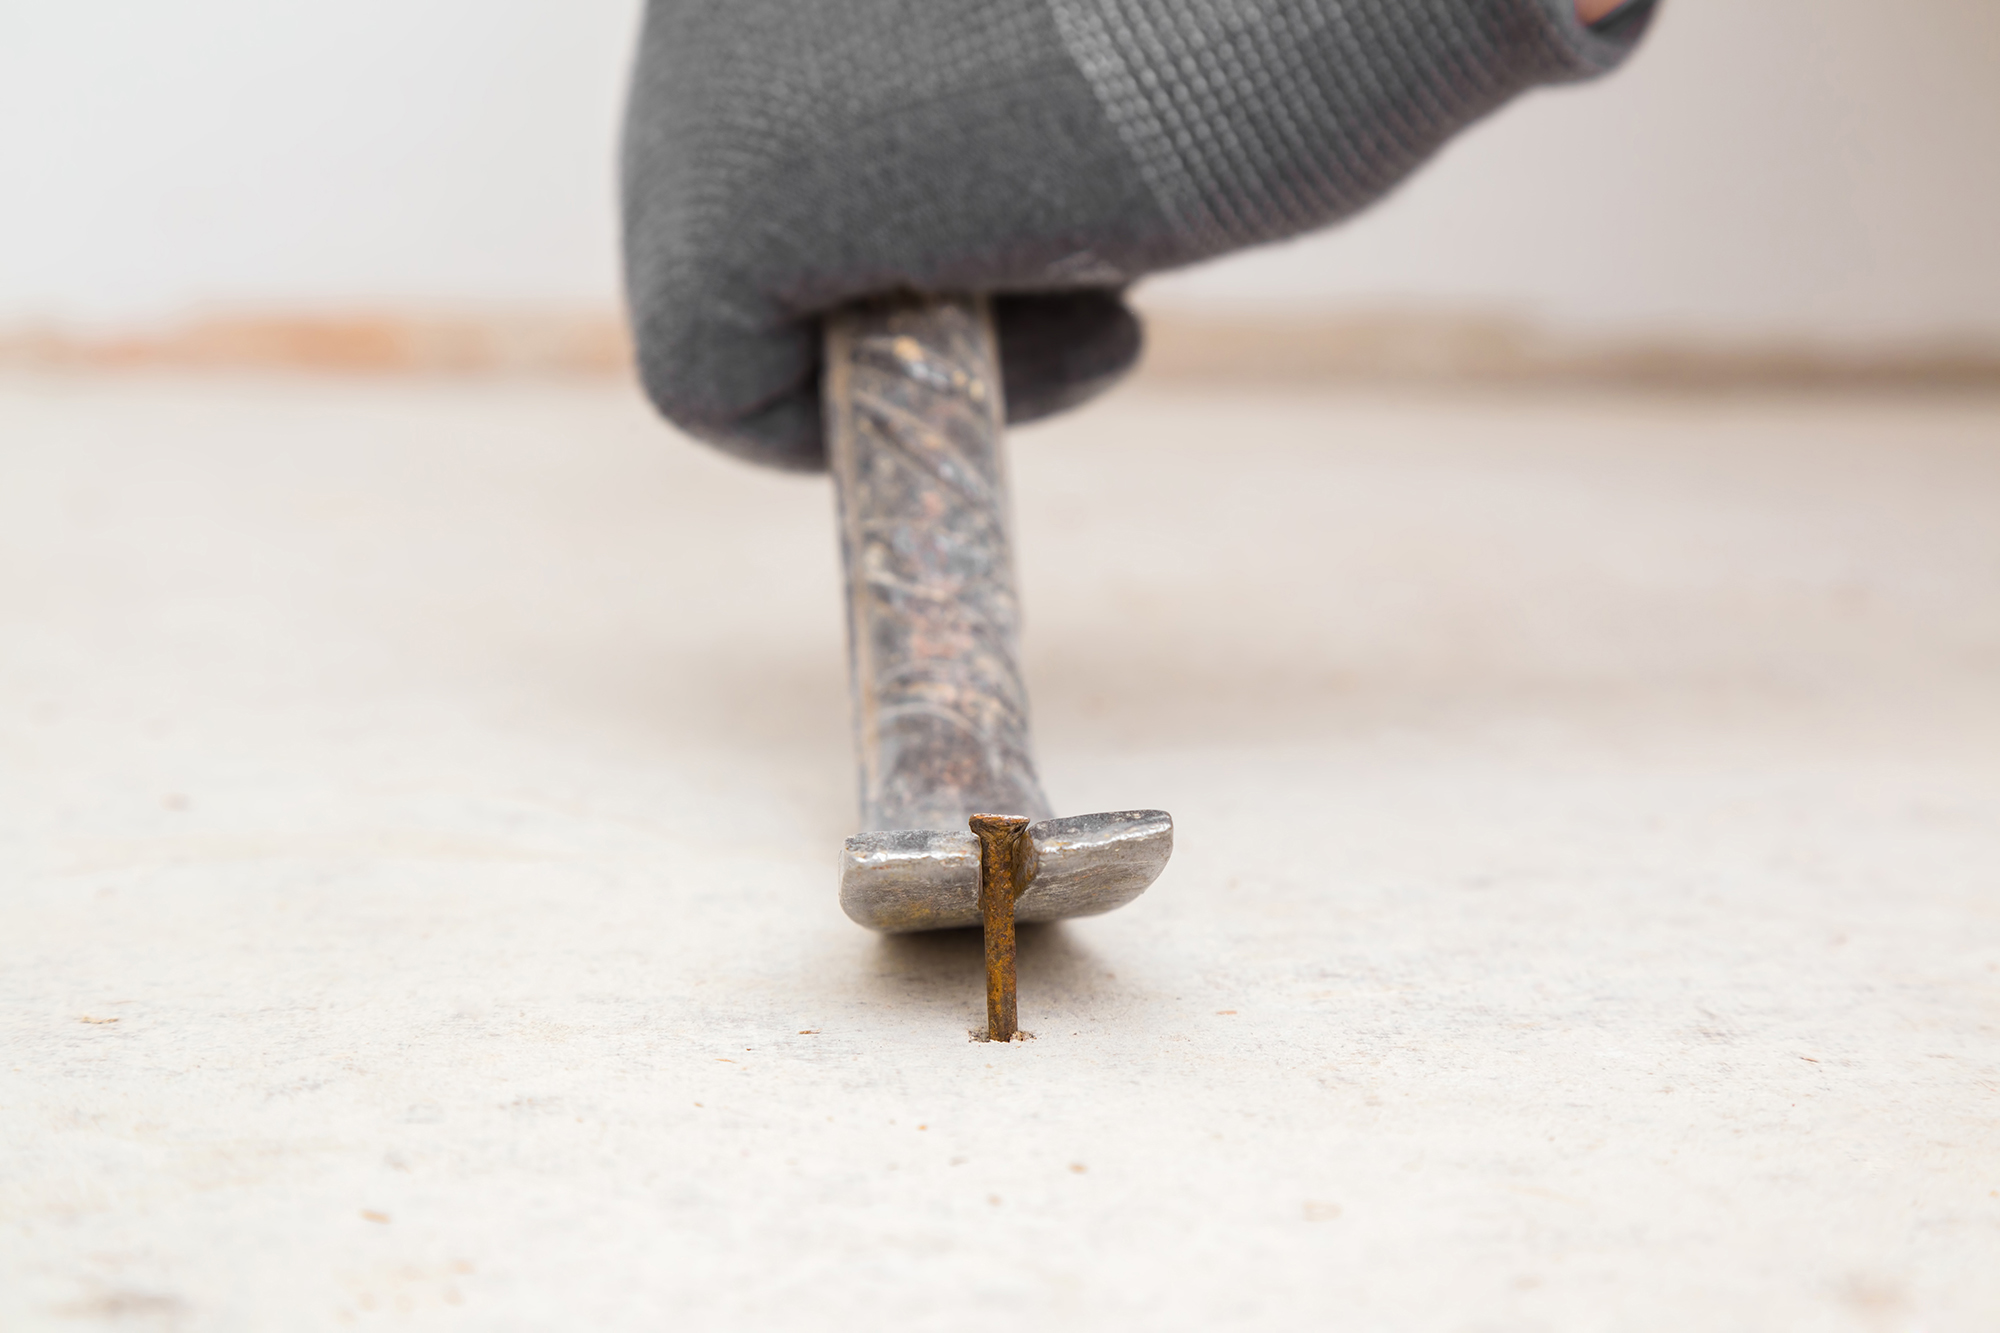
Step 2 – Remove the nails
Your home’s vinyl siding panels are also held in place with nails, so you’ll need to remove those before you can insert a new board.
Here’s how your prybar can help:
- Slip your prybar behind the vinyl siding panels of your home.
- Use the forked end to wriggle out the nails, bit by bit.
This step might take a little extra strength, but with the right leverage, you should get the nails out in no time. If your prybar doesn’t work, you can also accomplish this with a hammer.
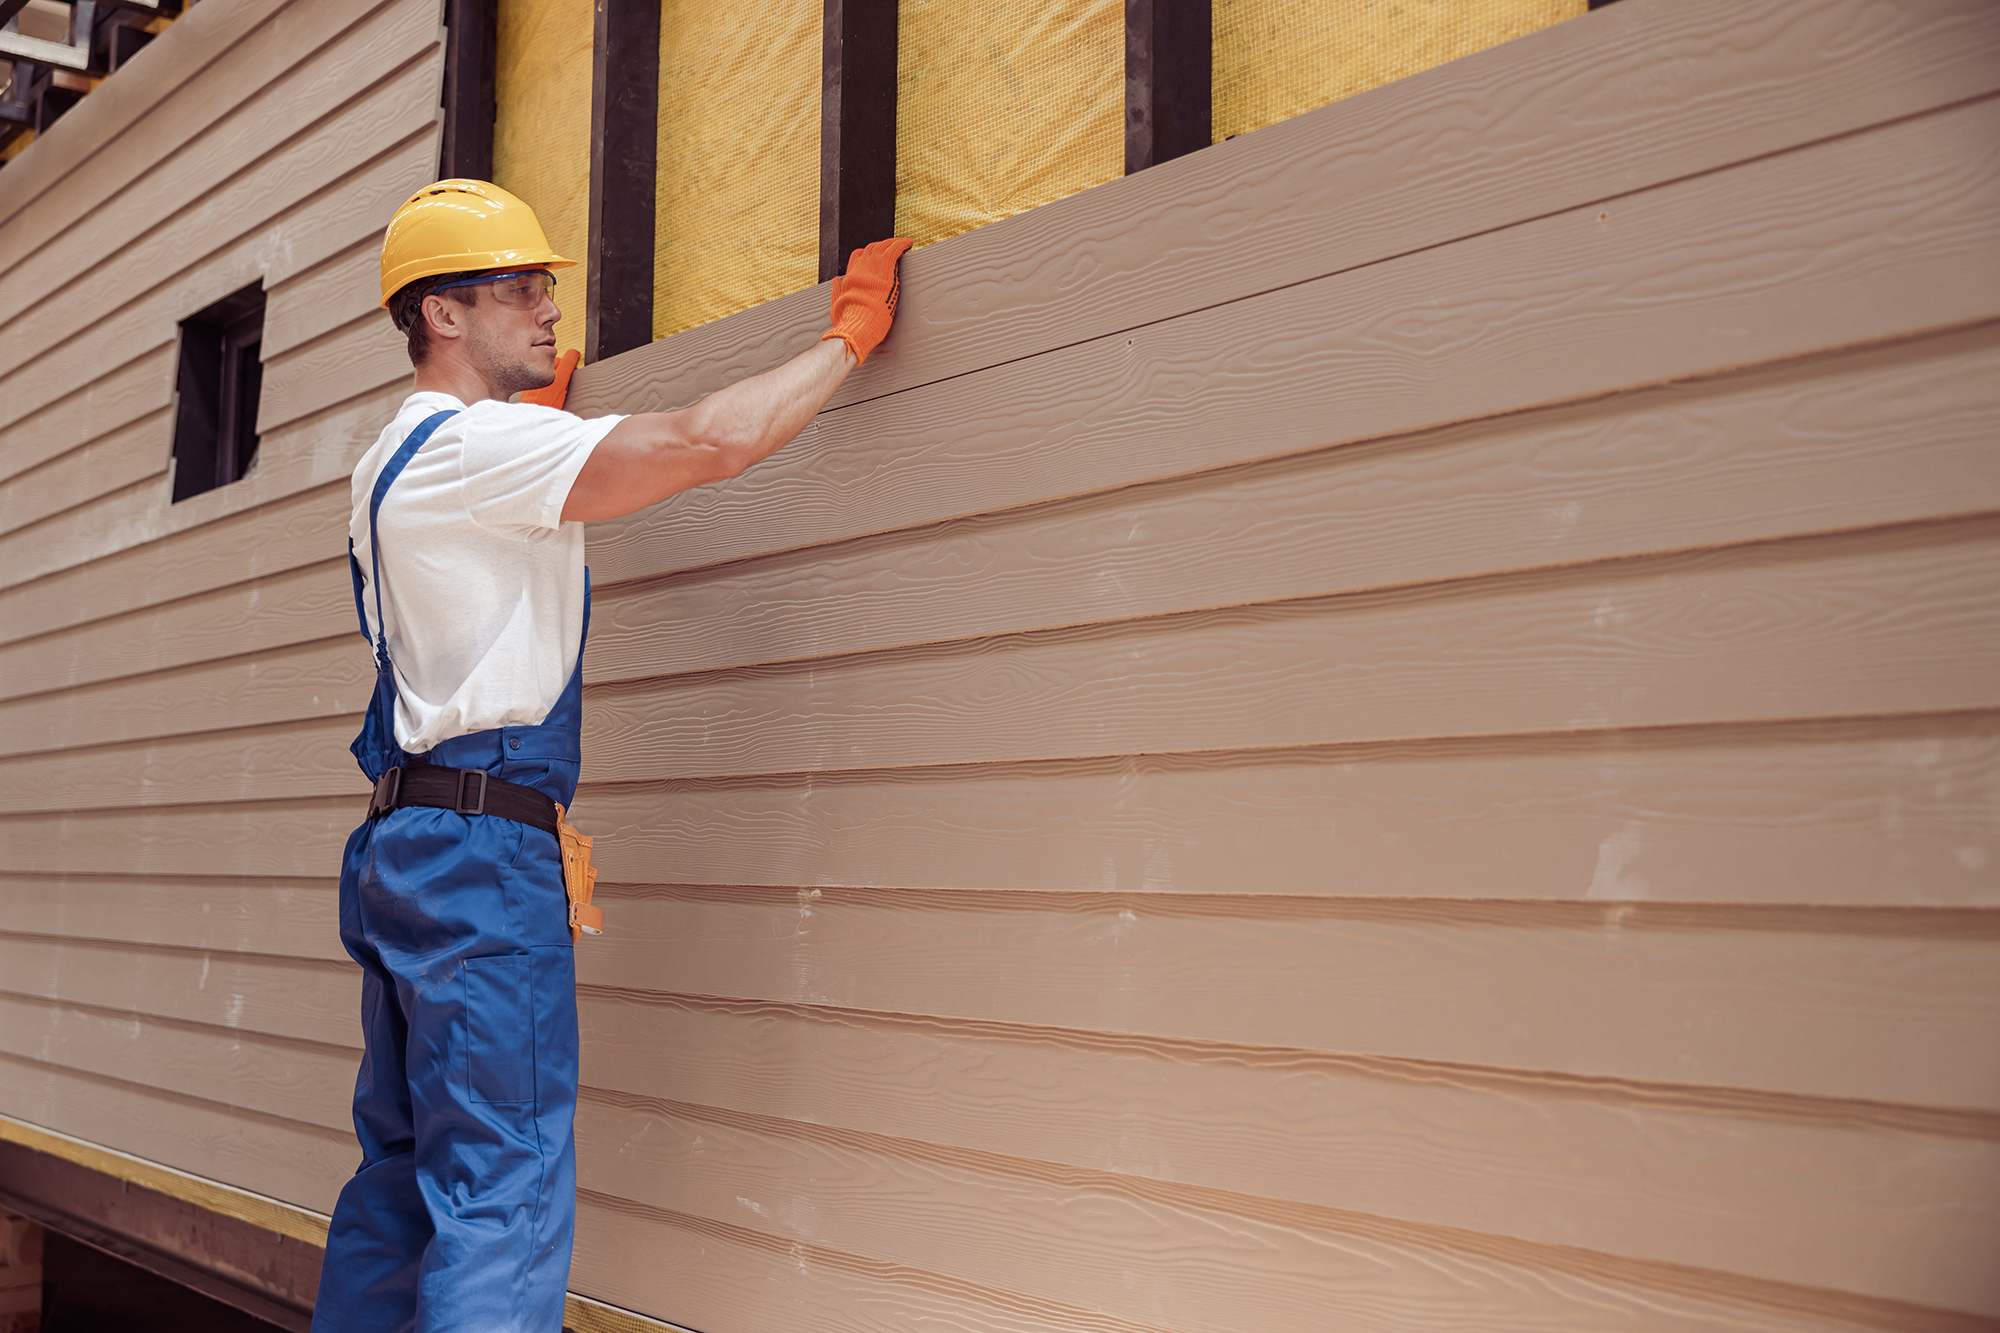
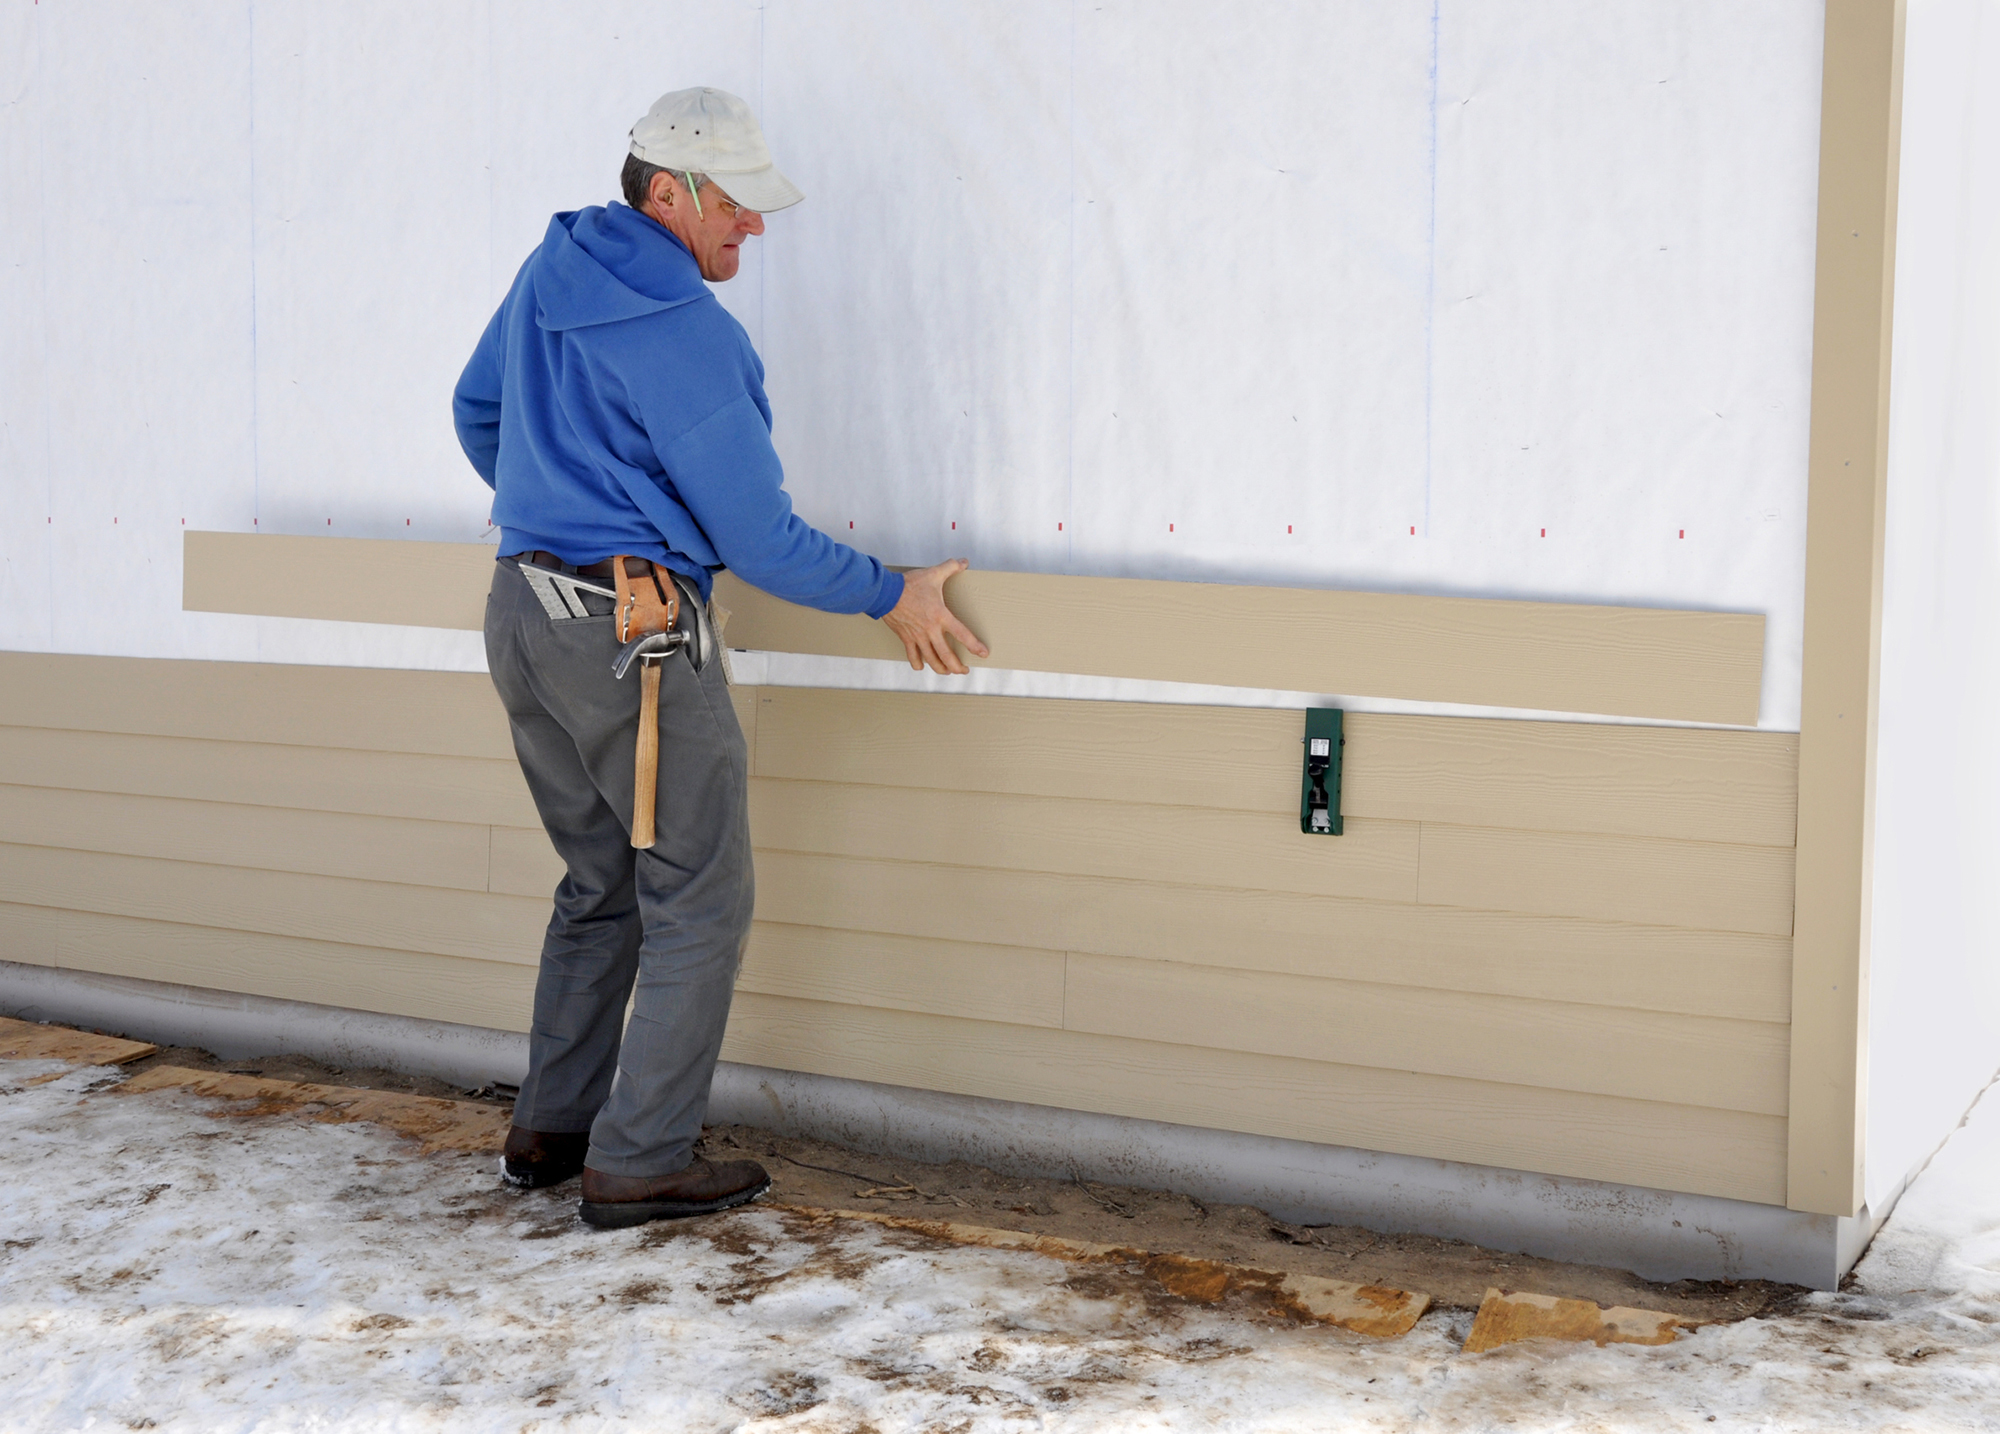
Step 3 – Install new siding boards
Now comes the fun part: installing the new siding boards that will make your home look better than ever!
- First, slide your replacement vinyl siding panel piece upward and into place with the panel directly above it. Keep pushing until the lower lip firmly locks into place.
- Next, hammer 1-1/4” roofing nails through your panel’s flange. Try to space them apart by 16 inches.
- Hammer in the center nailing slot. Be sure to leave a small amount of space between the head and the siding, which will allow the vinyl panel to move around freely.
- Then, use your zip tool to lock the upper siding panel piece down over the new panel you just put into place.
- Almost done! Pick one end of the siding panel and pull the lip down. Twist your zip tool a little bit to force the leading panel edge downward over the new piece.
- Then, just slide your zip tool along the edge. Use your fingers to push down on the vinyl behind the zip tool so it snaps into place and seals perfectly.
When all is said and done, it should take about 15 minutes for you to replace a vinyl siding panel. You might get even faster as you practice!
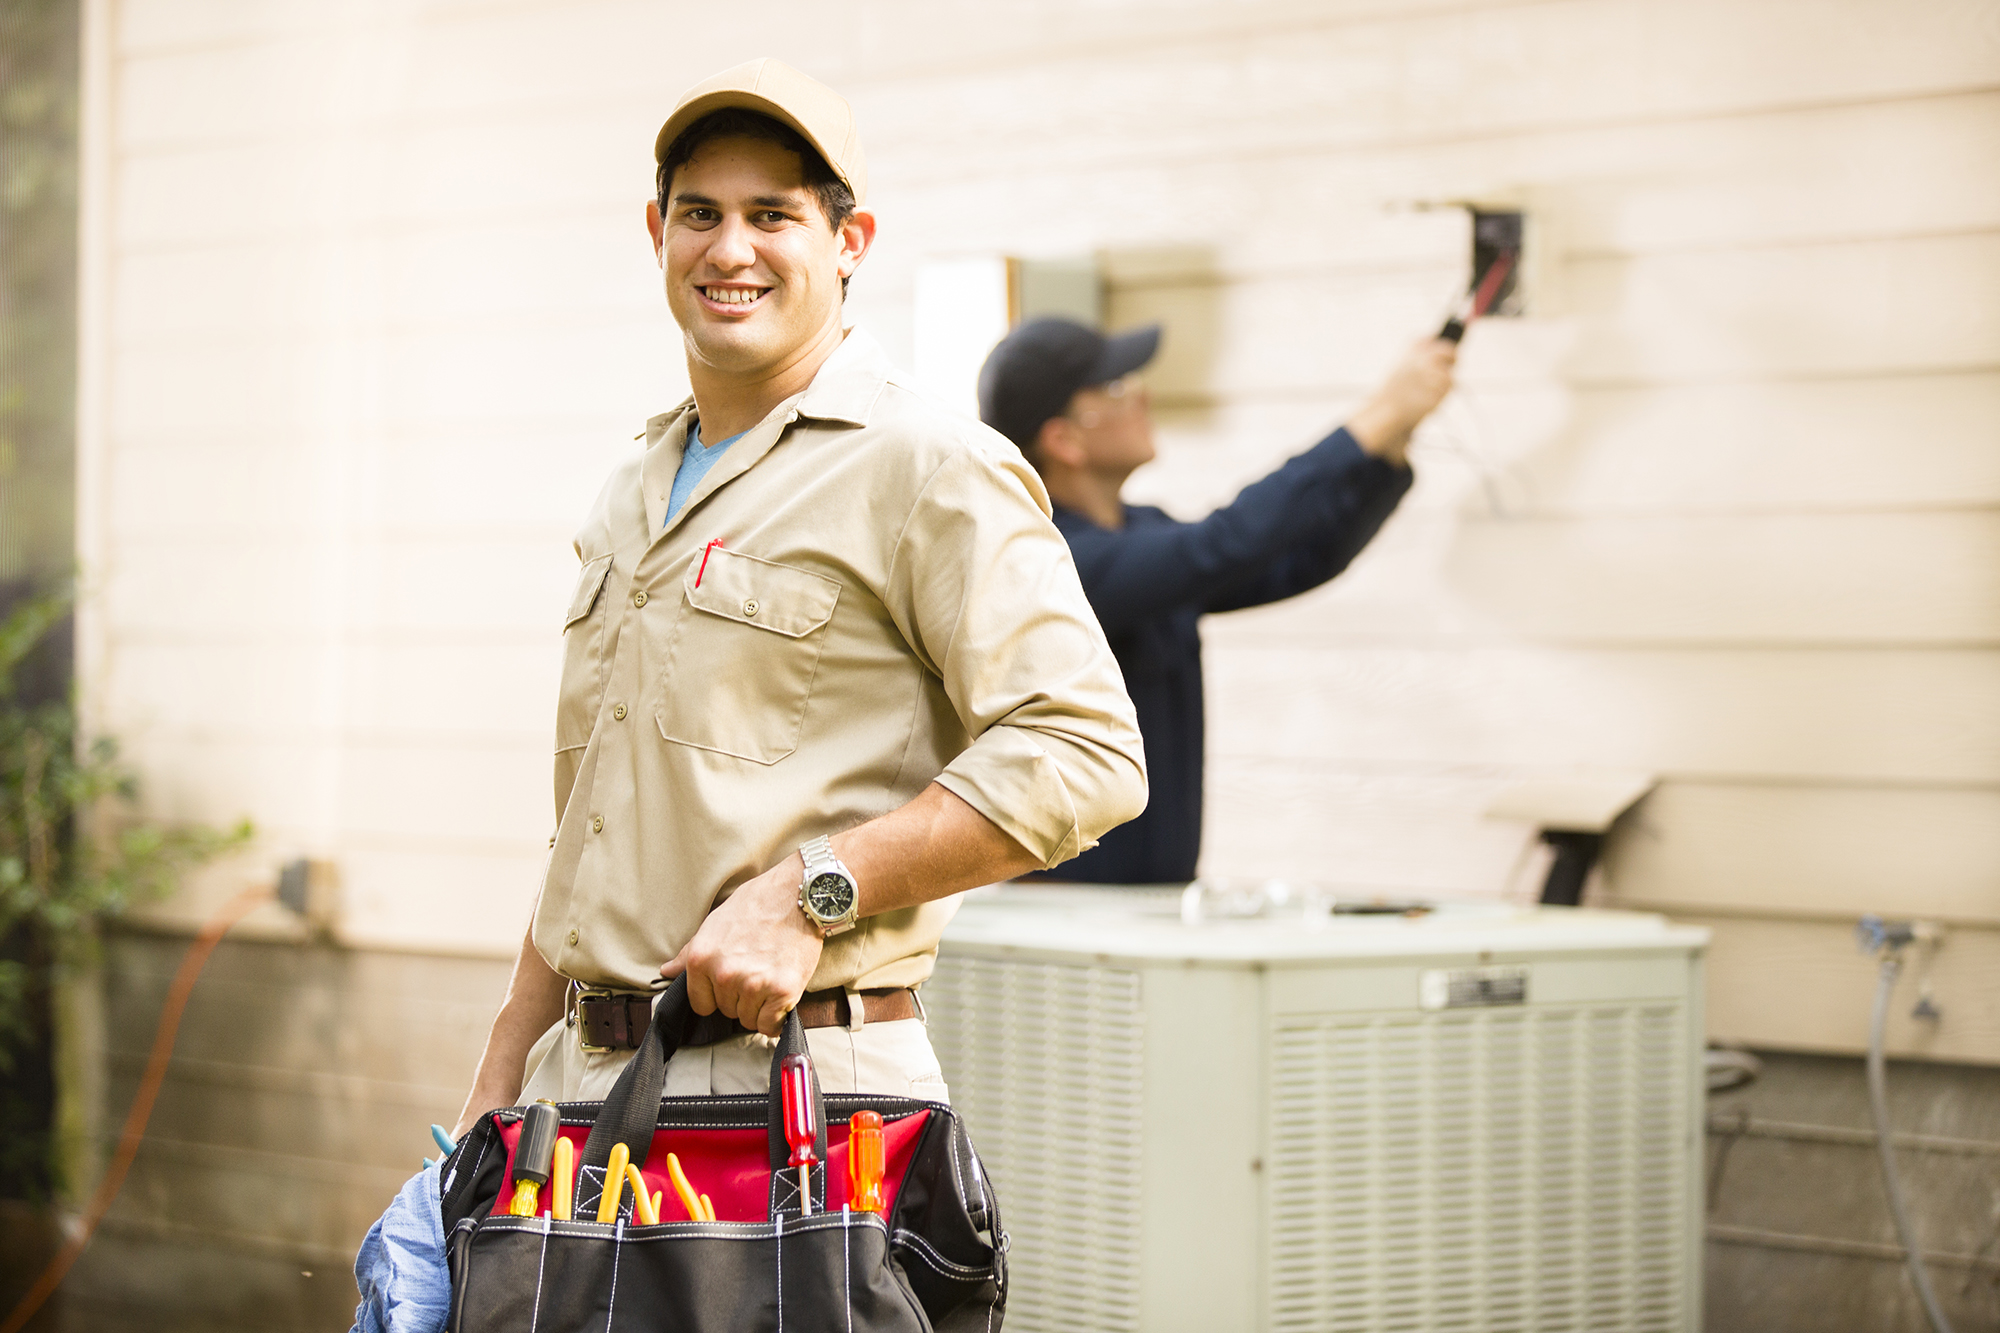
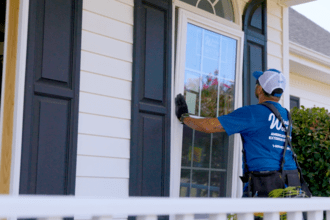
Calling in the professionals
Of course, the bigger the job is, the smarter it is to ensure your vinyl siding replacement is done right. If you need to replace a whole wall of siding, or if the task is more technically complex than you anticipated, consider hiring capable installers to handle this important work for you. The right installers can replace a lot of siding quickly, plus ensure it’s installed and sealed perfectly.
On top of that, installers can offer siding recommendations. For example, you might want to opt for longer-lasting, energy-efficient, durable vinyl siding if you find yourself having to replace cracked or warped panels every so often. Window World’s local franchises could have just the siding solutions you need. Even better, our experts can provide you with advice or assistance in determining the ideal siding for your home. Get in touch today to learn more!