The Ultimate Guide to Cleaning Windows
Ready to get Your New Windows?
Window World offers free in-home consultations! Click below to schedule today!
Get started!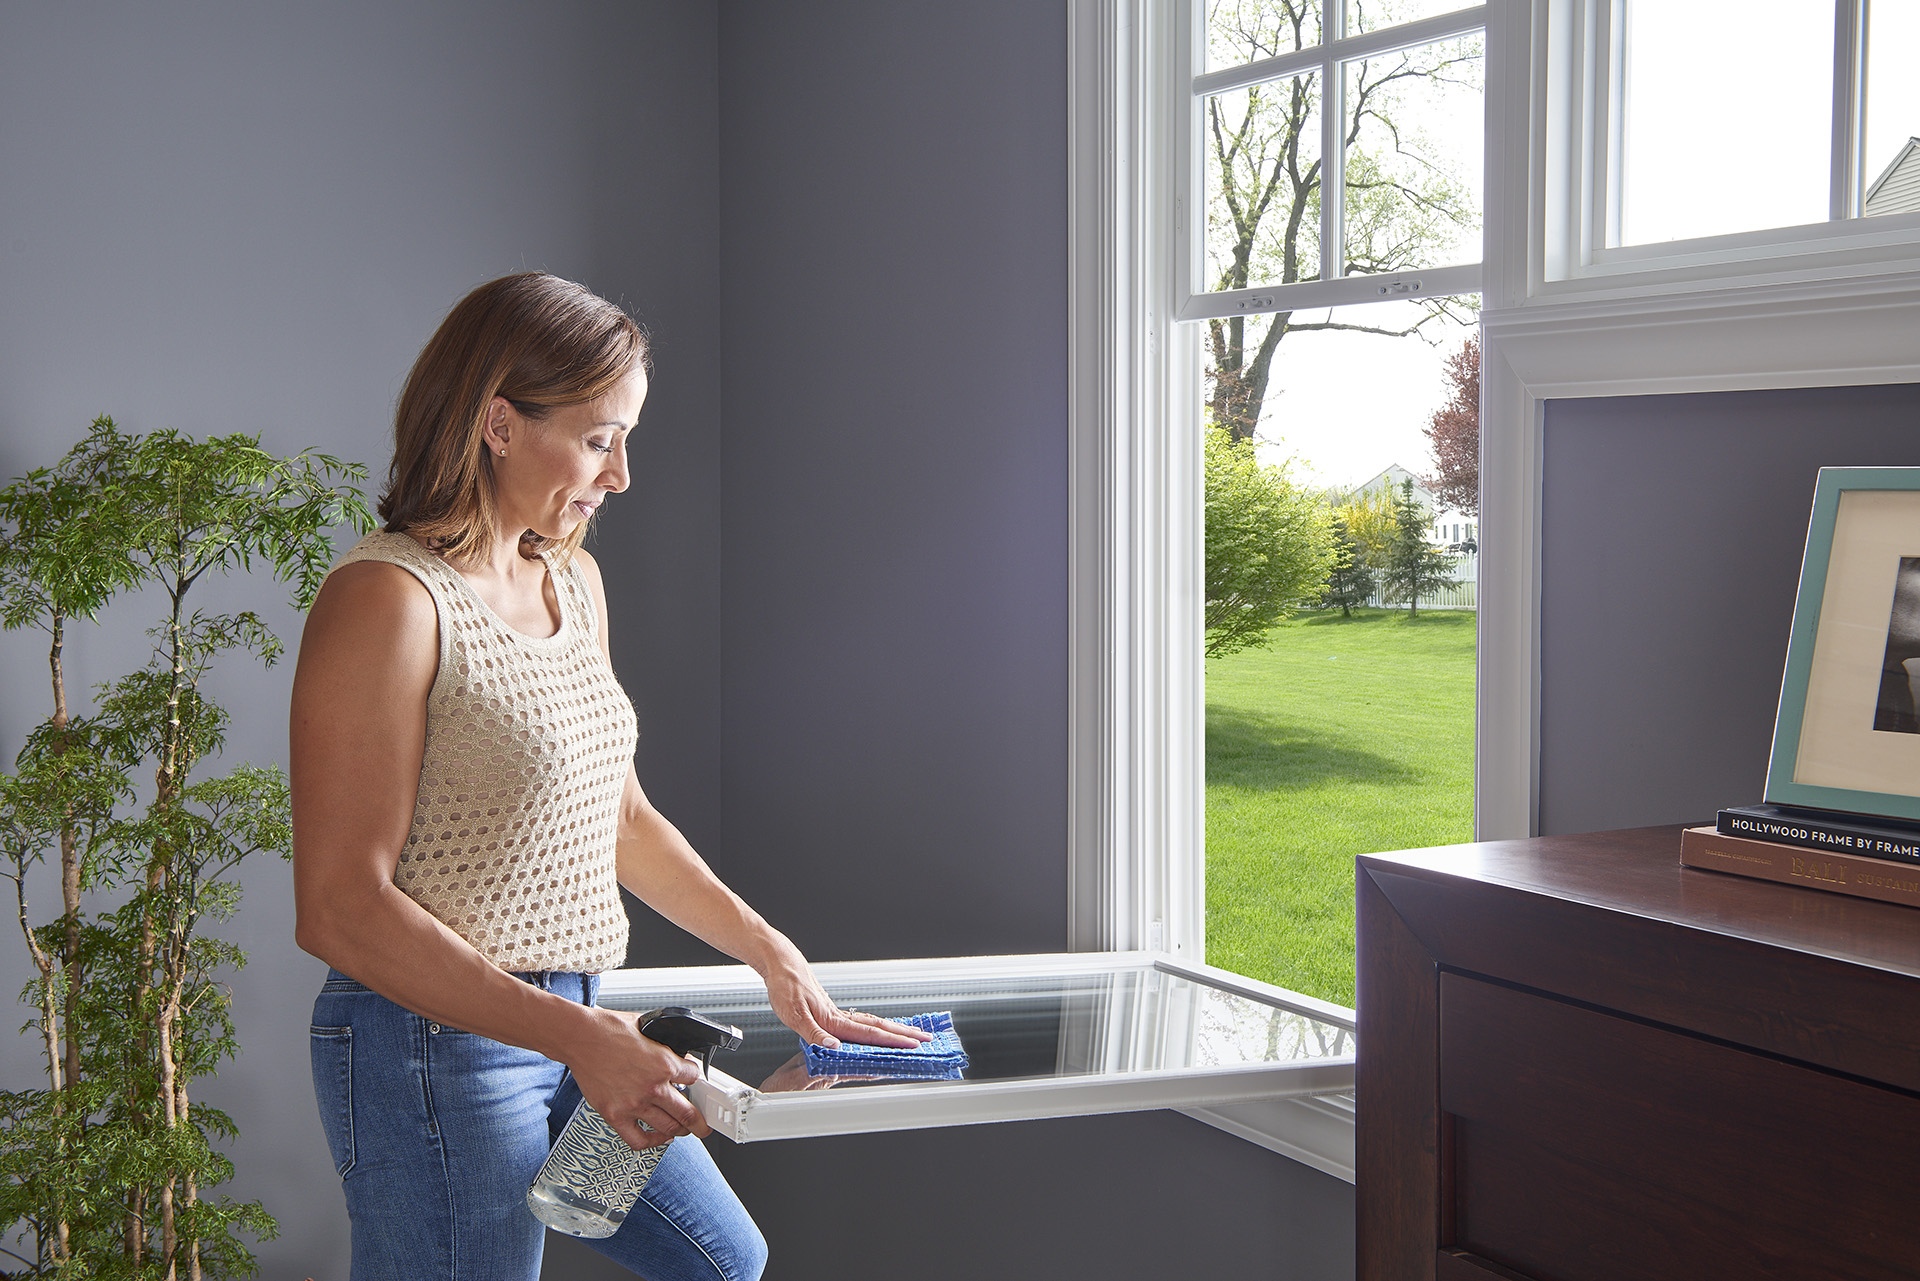

It’s one of those jobs that practically no one wants to do, and yet, when it’s finished, we all feel the highest sense of satisfaction and joy.
We’re talking, of course, about cleaning windows.
Whether it’s time to do it today or it was time to do it last Christmas, we’re here to help guide you through the process and hopefully make the job a bit more pleasant along the way.
Start with the big stuff

Before you reach for that bottle of cleaner, look at your window. If it’s cluttered with dirt, insects, or cobwebs, it’s best to get out the vacuum before introducing liquid to the scene. Remove dust and debris by vacuuming the area and eliminate the risk of scratching your window frames by using a soft brush attachment when doing so.
Once you’ve sucked up all the loose stuff, it’s time to give some special attention to those frames and sashes. Often, marks or stains are left behind by furniture that sits too close to the window. Insects that paid the ultimate price to sunbathe in your home can also create unsightly blemishes. And if you have small children, well, we can pretty much bet they’ve left some wonderful presents for you to take care of. 😉
When cleaning the sashes and frames, use a mild soap and water mixture and wipe with a soft, lint-free cloth. If you find that some stains are being stubborn, try a dash of mineral spirits. Whatever you do at this stage of the process, stay away from any cleaning materials that are abrasive or scratchy. You certainly don’t want to leave more marks on the windows than when you started.
If you’re feeling extra motivated, this is a great time to clean the window track with a soft brush. This will ensure that your windows continue to open and close smoothly for many years to come.
Check the weep holes next

While you’re cleaning the frames of your windows, it’s an excellent time to check the weep holes to be sure they’re not clogged or blocked. Designed to help water drain away from the sill, weep holes are supposed to keep the bottom of your windows dry. If they’re clogged up, you’ll find that water pools inside and takes quite a long time to evaporate.
To clear blockages, simply vacuum or use a soft brush to clear the openings on both sides of the window. Keeping weep holes clear in windows that face sprinklers or take on heavy rainstorms will not only help your windowsills stay cleaner for longer, but it will prolong the life of the window, too.
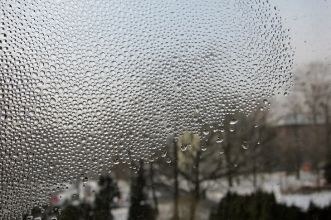
Clean the glass

Now it’s time for the showstopper! Use a store-bought glass cleaner or make your own with a mixture of water, vinegar, and rubbing alcohol. Be sure to properly label the bottle if you brew your own and do your best to keep it away from pets or kids.
Don’t be afraid to saturate the glass. Your cleaner will go a long way in breaking down the film that usually accompanies dirty windows. Using too little cleaner is also an easy way to create unwanted streaks on your finished product. In this instance, more is definitely better.
Paper towels work well enough to do the job, but we recommend using a soft, lint-free towel when cleaning. Old kitchen towels and microfiber cloths work great for this if you don’t want to purchase special supplies.
A pro tip when cleaning the glass is to work in shady areas of your home. If your living room windows get most of their sun exposure in the morning, save them for the afternoon. Cleaning glass that is too hot will cause your cleaner to dry much quicker than you’d like, leaving streaks behind and making it difficult to see where you’ve been.
Don’t forget the screens

Window screens can harbor dust and pollen throughout the year, so this is the perfect time to give them a good cleaning. Doing so will help lessen the number of airborne contaminants that can enter your home when windows are open, and the allergy sufferers in the house will thank you for it.
Be sure to take the screen out of the window before cleaning. Here, a mild soap and water solution works perfectly for bringing back the luster of a new screen without doing any damage to its components. Make sure to rinse with clean water and air dry or use a lint-free towel to finish the job. If you do find lint left behind after cleaning, a sticky roller normally used for clothing works wonders on picking up all those leftover fluffs.
Find more helpful tips and tricks for maintaining your home in our Inspiration section. And if you’d rather replace your windows before cleaning them, schedule a free in-home or virtual quote today!
Editor’s Note: This post was updated in August 2020.